Merge Documents
Before you begin merging documents, read the following topics:
Merge Documents
To combine separate documents into a single document:
-
Double-click on the Eclipse SE Desktop icon.
-
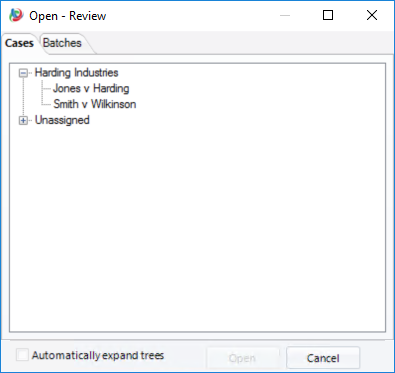
Select a Client and Case and click Open.

Note: You can also open a folder or perform a search if your are working in a case.
-
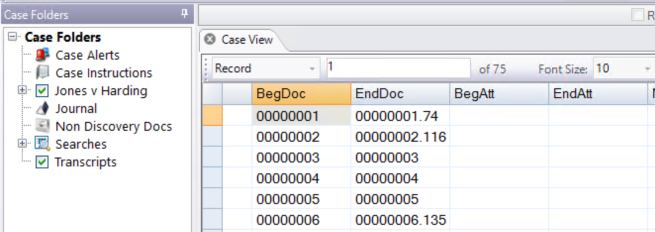
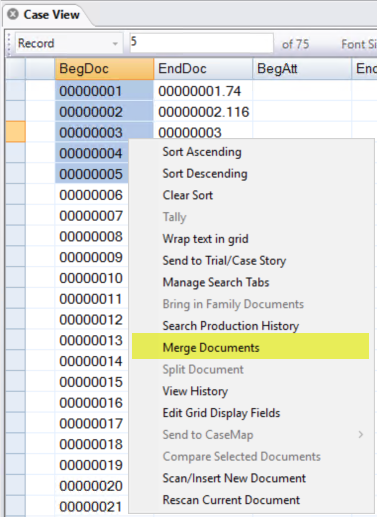
Make sure the records in the tab in which you are working are sorted by the BEGDOC field and the documents you want to merge are contiguous in the case database. In the example below, there are 6 sequential documents that we want to merge.
-
In the Case View or related tab, select the set of sequential documents, then right-click and select Merge Documents.

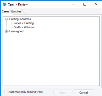
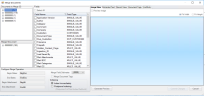
The Merge Documents dialog box opens.
-
Review the Documents to Merge list and Merged Document. Click
 next to a document
to view individual pages.
next to a document
to view individual pages. -
In the Fields list, select fields for which data should be included for the merged document. For these fields, data for will be included from all documents being merged, separated by the delimiter selected in the next step.
-
If needed, change the delimiter for fields to be merged from a semicolon (;) to another character—select the character from the Merge Field Delimiter list.
-
To merge document tags, select the Merge Document Tags option. Tags from all documents in the set will be added to the merged document. Conflicts between exclusive tags will be identified in later steps.
-
As needed, review the document by performing the following steps:
-
-
Select a document or page of interest in the Document to Merge list and click Preview Image in the Image View tab.
-
Examine the page image; click Fit Width or Fit Height for different views.
-
Select another document or page to view its image. The image will change for each subsequently selected item. The image key for the current image is included at the top of the tab.
-
-
-
Click the Extracted Text tab.
-
Select the Preview Extracted Text option.
-
Review the text; scroll as needed to see all extracted text. Extracted text from all documents is merged automatically.
-
Select another document to review. The text will change for each subsequently selected document. The image key for the current document is included at the top of the tab.
-
If needed, text can be copied—select the text, then press CTRL+C. Paste the text in an appropriate file.
-
-
-
Select a document of interest in the Documents to Merge list.
-
Click the Record View tab. Data for all fields available for selection are presented.
-
Review field details; scroll to view all fields; click Expand to see an individual field’s data.
-
Select another document to review. The data will change for each subsequently selected document. The image key for the current document is included at the top of the tab.
-
If needed, field data can be copied—right click in select the field’s text, then press CTRL+C. Paste the text in an appropriate file..

TIP: To select all text, click in the field and press Ctrl+A.
-
-
-
Select a document of interest in the Documents to Merge list.
-
Click the Document Tags tab.
-
Note which document tags have been applied; scroll as needed to see all tags.
-
Select another document to review. The tags will change for each subsequently selected document.
-
-
Click Generate Preview. A preview of the merged document is created.
-
Review the merged document results on the Image View, Extracted Text, Record View, and/or Document Tags tabs.
-
Check the Conflicts tab—if the label is red and a number displays, then problems exist that need to be reviewed and corrected. To view an example,
 click
here.
click
here. -
If you make changes based on the review of the merged document, click Generate Preview again to re-check the document.
-
When documents are merged, the case must be re-indexed, which can be done as part of the merge process or at a later time. (Re-indexing now may cause processing delays; see the note below.) Choose the needed option:
-
Index immediately: Index the case after documents are merged.
-
Postpone Indexing: Index the case later; see for details.
-
-
When the preview matches your needs, click Commit Changes. The documents will be merged in the manner you have defined.
-
Wait as the operation completes. When it does, the Merge Documents dialog box closes.
-
As needed:
-
Review the merged document in Eclipse SE Desktop.
-
Communicate document changes to your team members.
-

Click the Conflicts tab to review problems and determine a course of action. For example, if tags conflict, then you might decide not to merge them. Or, you might decide to change some tags to page tags.
|
|
NOTE: Depending on the number and type of documents being merged, system capabilities, and other factors, merging may consume significant time and resources. |
Related Topics
Last Revision: 6/2/2023
Version: 2019.0.0